How to Restore Wood Siding: Repair, Strip and Refinish

Most wood siding with peeling paint, small cracks or a few soft spots can be restored. You inspect it, fix the moisture problem, repair or replace only the boards that are beyond saving, strip failed coatings, and refinish. Replacing the whole wall is rarely the first step. This guide walks through each stage in order, with realistic costs, lead-paint safety and a clear view of where a professional saves you time.
TL;DR
- Check for rot with an awl or screwdriver. Spot repairs and selective board replacement are usually enough. Replace everything only when damage is severe and widespread.
- Fix the water source first, then fill, glue or refasten, and replace only what cannot be repaired.
- Homes built before 1978 may have lead paint. Use wet, low-dust methods and containment, and hire a qualified pro for stripping.
- Paint typically lasts 5 to 8 years. A primer plus two coats of solid-color stain can last about 8 to 10 years on cedar and redwood.
- We strip wood siding in San Francisco and the Bay Area with mobile dustless blasting. Free estimates are available.
Table of Contents
- Can your siding be restored or does it need replacing?
- Fix moisture before you fix anything else
- Repairing cracks, loose boards and rot
- Cleaning siding before you refinish
- Removing old paint: how far do you go?
- Priming, painting or staining restored siding
- What does wood siding restoration cost?
- Our view: strip once, strip cleanly
- Get your siding stripped and ready for finish
- FAQ
- Sources
Can your siding be restored or does it need replacing?
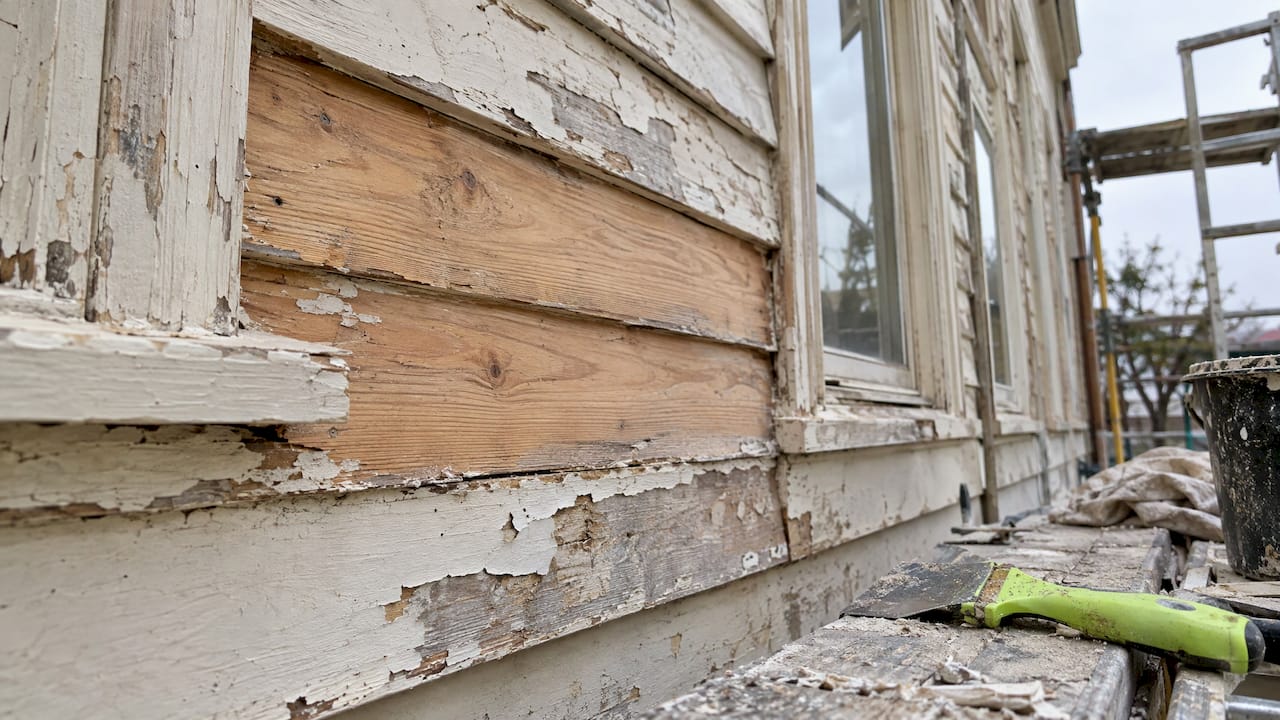
Start with a walk-around. Look for peeling paint, soft or crumbly boards, gaps at joints, and dark dirt veins running up from the ground, which can point to termites. The New Orleans Historic District Landmarks Commission advises inspecting exterior wood twice a year and testing suspected rot with an awl. If the awl sinks in easily, the wood is soft.
The same guidance says selective repair is generally sufficient, and that broader replacement becomes necessary only when deterioration is severe and extensive. The Preservation Society’s resilience guidance makes a similar point: small, regular repairs extend the life of wood, and you should replace only the pieces that cannot be repaired.
A simple way to sort what you find:
| What you see | Usual answer |
|---|---|
| Peeling or faded paint, sound wood | Clean, strip failed coating, refinish |
| Hairline cracks and small splits | Fill or glue, then refinish |
| Loose or warped boards | Refasten, then refinish |
| A few soft, rotted boards | Cut out and replace those boards |
| Soft wood across most of a wall | Talk to a siding contractor about wider replacement |
The same repair-before-replace thinking applies to other parts of an older house. If you are weighing the same choice for your windows, this overview of historic home window replacement covers how to judge what is worth keeping.
Fix moisture before you fix anything else
Paint and stain do not last on wood that keeps getting wet. Before you repair a single board, trace the water: clogged gutters, a downspout that discharges against the wall, sprinklers hitting the siding, soil or plants piled against the bottom course, or failed caulk at trim and corners.
The NOLA guidance lists moisture control as the first step in any wood repair. Check old caulk seams regularly and seal gaps before you paint. Keep an eye out for termite damage and rot while you are at it.
Repairing cracks, loose boards and rot
Once the wood is dry, repair in order of severity.
- Small cracks, checks and holes. Fill them with stainable, exterior-grade wood filler, let it dry and sand it flush, as Sherwin-Williams describes. Splits can take exterior wood glue or epoxy.
- Loose or protruding fasteners. Reset or replace them. The same source says larger warped-board problems should be corrected before staining.
- Warped boards. The York City design guide says warping may be corrected with careful, slow, well-placed nailing or drilling.
- Boards beyond repair. Replace them, matching the original size, shape and profile. For board-and-batten, This Old House says to cut damaged sections out at the center of a stud, check the structure behind for moisture or other damage, and make sure the area is clean and dry before installing new siding.
If you find rot behind a board, stop and deal with it. New siding over a wet wall just moves the problem.
Cleaning siding before you refinish
Dirt, mildew and chalky residue stop new coatings from bonding. For routine cleaning, the NOLA guidance recommends a garden hose, household detergent and a bristle brush in warm weather. It cautions against power washers, which can force water into wall cavities and damage details.
A workable routine:
- Wet the wall with a hose.
- Apply cleaner and scrub with a nylon brush, working in sections.
- Rinse from the top down.
- Let the siding dry fully. One carpenter’s cedar-washing guide allows 48 hours before priming or painting.
Cleaning removes dirt. It does not remove failing paint. That is the next decision.
Removing old paint: how far do you go?
Not every wall needs stripping to bare wood. The National Park Service’s Preservation Brief 10 sorts paint failure into three levels: minor blemishes, failure of the top layer only, and failure of multiple layers. The method should match the level.
- Minor blemishes: clean, lightly scrape and hand sand.
- Top-layer failure: remove paint back to the next sound layer.
- Multiple-layer failure: remove the whole build-up, using the gentlest effective means.
Paint that is still bonded tightly can stay. Dull it by sanding and recoat.
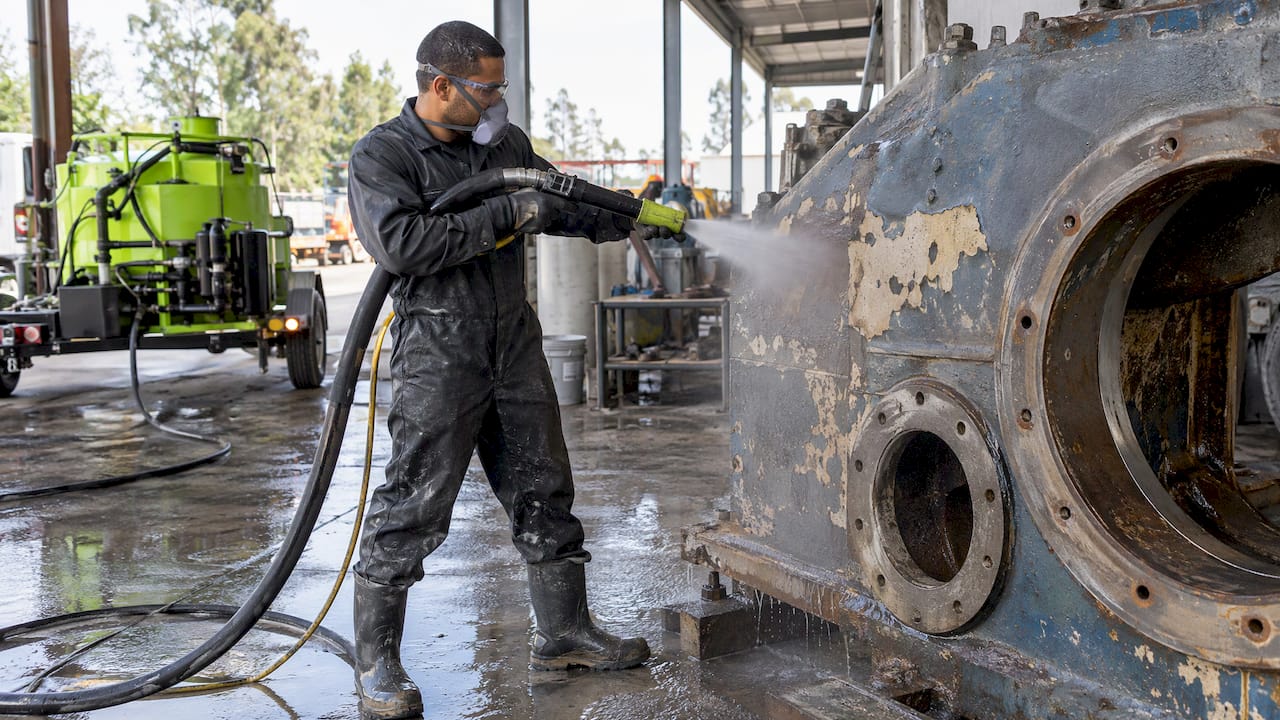
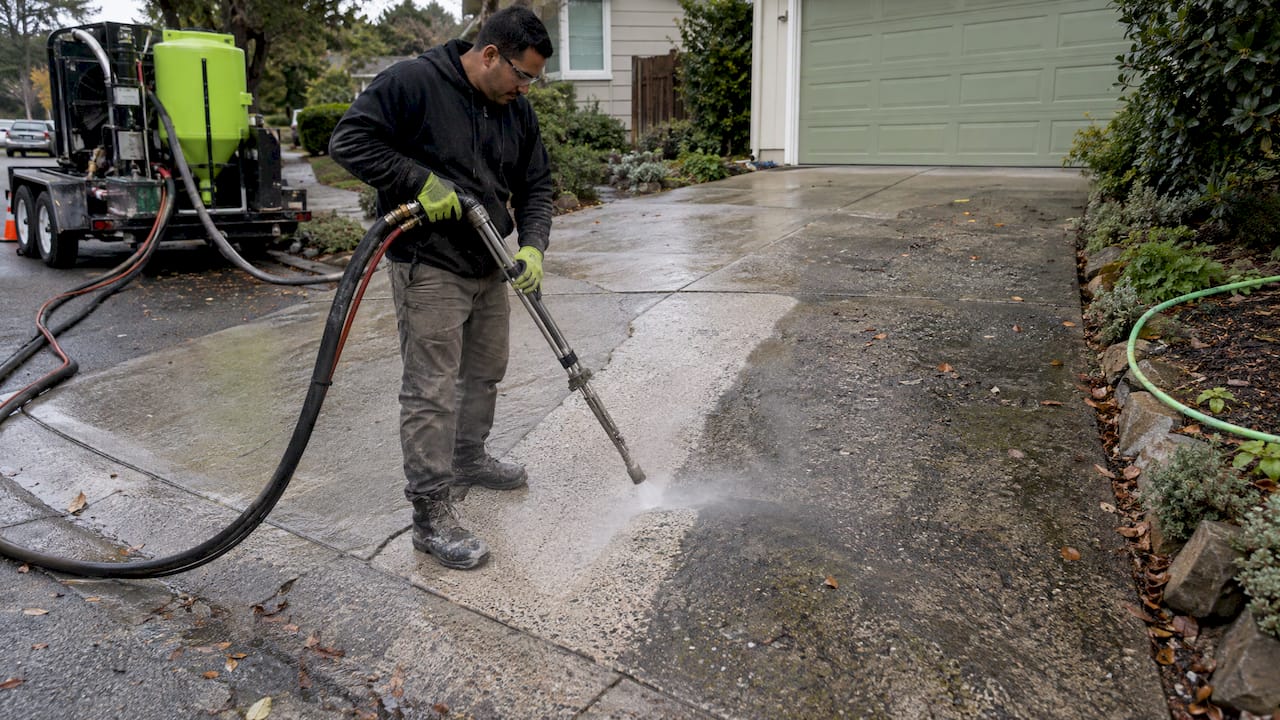
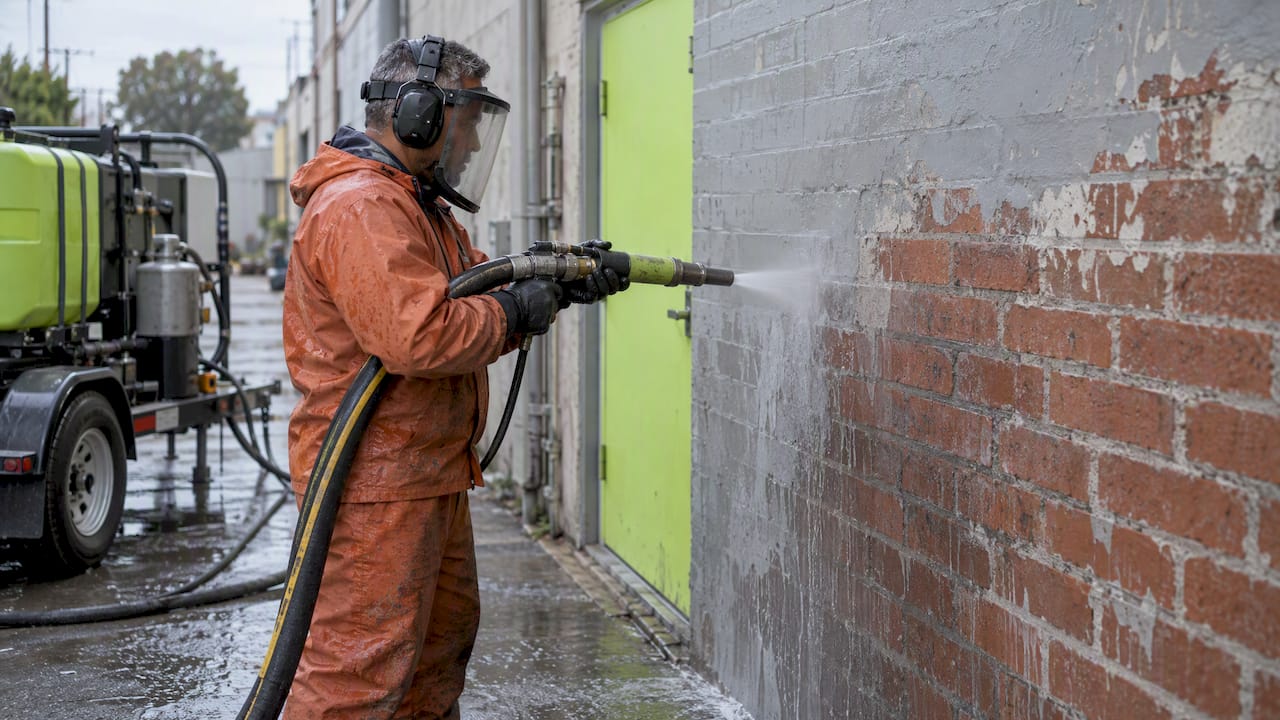
If your wall has several layers of cracking, alligatored or peeling paint, scraping by hand is slow, and heat guns and dry sanding create dust you do not want around your family or your neighbors. This is where wet abrasive blasting earns its place. It strips coatings with a water-and-abrasive stream and produces up to 92% less dust than traditional dry sandblasting, which is our own measure against that method. It is also adjustable. Settings are tuned to the wood and the coating, so we can strip painted siding, trim and fascia back to a clean surface ready for primer or stain. See how it compares in our guide to dustless blasting vs. sandblasting vs. pressure washing.

If your house is in a designated historic district, ask your local preservation office which removal methods are permitted before you choose one. Some districts have strict rules.
Lead paint: the safety step you cannot skip
Houses built before 1978 may carry lead-based paint. The EPA’s guidance warns that preparing painted surfaces can create lead exposure. It recommends covering floors and furniture, avoiding sanding lead paint where possible, and using dust-control methods when sanding cannot be avoided.
The CDC’s field guide adds practical rules: mist surfaces before scraping or sanding, contain the work with protective sheeting, keep children away, use appropriate respiratory protection, and clean thoroughly before anyone returns.
If you suspect lead, have the paint tested before work starts, and keep children and pregnant women away from the work area. Our lead paint removal and containment service is built around exactly this: wet methods, containment and careful cleanup.

Priming, painting or staining restored siding
Bare or freshly stripped wood needs a finish quickly. Prime or seal it as soon as it is dry, and do not leave it exposed for weeks. Fill and sand repairs first, then prime the repaired areas and any bare wood.
How long should the finish last? The NOLA guidance puts a quality paint job at 5 to 8 years. USDA Forest Service research reports that a primer plus two topcoats of solid-color stain can give acceptable service for about 8 to 10 years on western redcedar and redwood siding, and rough-sawn surfaces may last longer.
Pick colors for the whole elevation, not just the siding. Trim, doors and roofline all work together, and this guide to choosing siding and trim colors shows how to compare combinations before you commit.
Then keep up the cycle: inspect twice a year, wash once a year, recaulk open seams and touch up early. Small, regular repairs cost far less than a big restoration.
What does wood siding restoration cost?
Costs depend on wood species, square footage, labor and how much hidden rot turns up. For national context, HomeAdvisor’s U.S. estimate, updated June 20, 2026, puts professional wood-siding repair at $700 to $2,879, averaging $1,719. It lists replacing damaged boards at $6.25 to $18.75 per square foot, and new siding for an average-sized home at $5,565 to $17,647. Those are national figures, and Bay Area labor rates are often higher.
Here is what we publish for the stripping and prep part of the job:
| Service | Our published price |
|---|---|
| Dustless blasting | From $3 per sq ft |
| Paint removal | From $3 per sq ft |
| Surface preparation | $2-$3 per sq ft |
| Wood restoration | Quoted per project |
| Lead paint removal | Quoted per project |
Wood restoration depends on wall condition, coating layers, access and height, so we quote it after we see the job. For a closer look at how pricing is built, read our dustless blasting cost breakdown for the Bay Area.
A quick way to sanity-check any quote: ask whether it covers stripping, repairs, priming and finish coats separately, and who handles lead testing if your home is older.
Our view: strip once, strip cleanly
We see the same pattern on Bay Area wood siding. A homeowner repaints over failing paint, the new coat peels within a couple of seasons, and the next painter faces even more layers. The wood underneath was usually fine. The coating was the problem.
That is why we believe in getting back to a sound surface once. Our mobile rigs carry their own air and power, so all we need is parking and access to the wall. Wet abrasive blasting keeps dust down, which matters on tight San Francisco lots where neighbors are a few feet away. It also lets us work around trim and detail without gouging them when the settings are matched to the wood.
Coating prep is the step that decides how long a paint job lasts. Contractors, property managers and homeowners who bring us in before the painter get a clean, uniform surface and a clear picture of which boards need repair. We give a free estimate, a straight price per square foot where it is published and an honest read on the job.
USA
Get your siding stripped and ready for finish
We provide mobile dustless blasting, paint removal, lead paint removal and wood restoration for homes, multifamily buildings and commercial properties across San Francisco and the Bay Area. Our rigs bring their own air and power, and we offer free estimates and fast scheduling.

See our wood stripping and restoration page for details, browse all of our services, or request a free estimate and tell us what you know about the wall: age, coating layers, and anything you have noticed about the wood.
FAQ
How do I know if wood siding is rotted past saving?
Press an awl or screwdriver into the board. If it sinks in easily or the wood crumbles, it is rotted. Isolated soft boards can be cut out and replaced. If most of a wall is soft, get a siding contractor to assess the framing and sheathing behind it.
Do I need to strip all the paint off my wood siding?
Not always. If the paint is still bonded tightly, clean it, sand it to dull the surface and repaint. If it is peeling in several layers, it usually needs to come off back to a sound layer. Test pre-1978 paint for lead before any scraping or sanding.
How often does wood siding need to be repainted?
Paint generally lasts 5 to 8 years, according to the NOLA exterior woodwork guidance. A primer plus two coats of solid-color stain can last about 8 to 10 years on cedar and redwood, per USDA Forest Service research. Sun exposure and moisture can shorten both.
Can I pressure wash wood siding before painting?
High pressure can push water into wall cavities and damage the wood. A garden hose, detergent and a brush are the safer choice for routine cleaning. For heavy paint build-up, a controlled wet blasting process is a different tool from a pressure washer and is set to the surface.
Sources
- Guidelines for Exterior Woodwork, New Orleans HDLC
- Resilience Guidance: Exterior Wood, Preservation Society
- How to Prepare Exterior Wood For Stain, Sherwin-Williams
- York City Design Guide
- How to Repair Board-and-Batten Siding, This Old House
- Washing Cedar Clapboards, Concord Carpenter
- Preservation Brief 10: Exterior Paint Problems on Historic Woodwork, National Park Service
- Lead In Your Home: A Parent’s Reference Guide, EPA
- A Field Guide for Painting, Home Maintenance, and Renovation, CDC
- Solid-Color Stains on Western Redcedar and Redwood Siding, USDA Forest Service
- How Much Does Wood Siding Repair Cost?, HomeAdvisor