Concrete Driveway Restoration: What Works and What It Costs

A concrete driveway can usually be restored when the slab underneath is structurally sound. Stains, flaking paint, old sealer, surface wear, hairline cracks and spalling are all restorable. Heaving, severe cracking and soil-related movement are not, and those slabs need replacement. Restoration is a sequence: clean, remove what is on the surface, repair, profile the concrete, then finish or seal it. Most failures trace back to the early steps.
We prepare concrete surfaces in San Francisco and the Bay Area every week. This guide covers how to judge your driveway, what each step involves, what it costs, and how to keep the result from failing early.
TL;DR
- Restoration works on sound concrete. Structural damage calls for replacement, and resurfacing does not fix soil problems.
- Preparation decides how long the work lasts. Poor prep or weak materials can cause failure in 1 to 3 years.
- Professional resurfacing runs $3 to $10 per square foot or more. Our prep and finishing services start at $2 to $3 per square foot.
- Plan for 48 to 72 hours before vehicles can return to a resurfaced slab.
- We offer free estimates, and our mobile rigs need only parking and access to the surface.
Table of Contents
- Can your driveway be restored, or does it need replacing?
- Step 1: Clean the slab and remove what is on it
- Step 2: Profile the surface so repairs and finishes bond
- Step 3: Repair cracks, spalls and low spots
- Step 4: Finish the surface
- What does concrete driveway restoration cost?
- How long does a restored driveway last?
- Why we prepare driveways the way we do
- Restoring your driveway with us
- A simple plan for your driveway
- FAQ
- Sources
Can your driveway be restored, or does it need replacing?
Start with what is wrong, not what it looks like. Ugly and damaged are different problems.
Usually restorable:
- Oil, rust, tire marks and general grime
- Old paint, sealer, or coatings that are peeling
- Light scaling, a rough or worn surface, and discoloration
- Cracks and holes narrower than 1/4 inch
- Spalled areas where only the top layer has flaked away
Usually points to replacement:
- Slabs that have heaved, sunk or tilted
- Wide, deep cracks that show vertical displacement between the two sides
- Freeze-thaw damage through the thickness of the slab
- Damage caused by soil movement or poor drainage underneath
The guidance is consistent. Resurfacing is feasible only if the underlying concrete is sound. It is not feasible over heaving concrete, severe cracks or freeze-thaw damage, and it will not solve underlying soil problems. Replacement is the most costly option, but it can save money in the long run if the slab is failing.
A quick walk-around test
- Look at the cracks. Can you slip a coin into them, or is one side higher than the other?
- Check for low spots where water pools after rain.
- Tap the surface with a hammer or the handle of a screwdriver. A hollow sound suggests delamination.
- Note where the damage is. Surface flaking across the whole slab is a different problem from one sunken corner near a tree root.
If you are not sure, that is what a site visit is for. We give free estimates and will tell you what we see on the surface.
Step 1: Clean the slab and remove what is on it
A resurfacer, sealer or coating only bonds to clean, open concrete. Anything between the product and the slab becomes the weak layer.
For a driveway, that usually means:
- Oil and grease from parked vehicles
- Old sealer or film-forming coatings
- Paint, including parking-stall or edge stripes
- Rust stains from furniture, metal edging or old rebar close to the surface
- Dirt, algae and general buildup
Homeowners often start with a pressure washer. That is a reasonable first pass: one general guide recommends removing paint or sealers and blasting surface dirt with a gas-powered washer of at least 3,500 psi. But a pressure washer struggles with coatings, deep stains and ground-in contamination. It also throws dirty water everywhere.
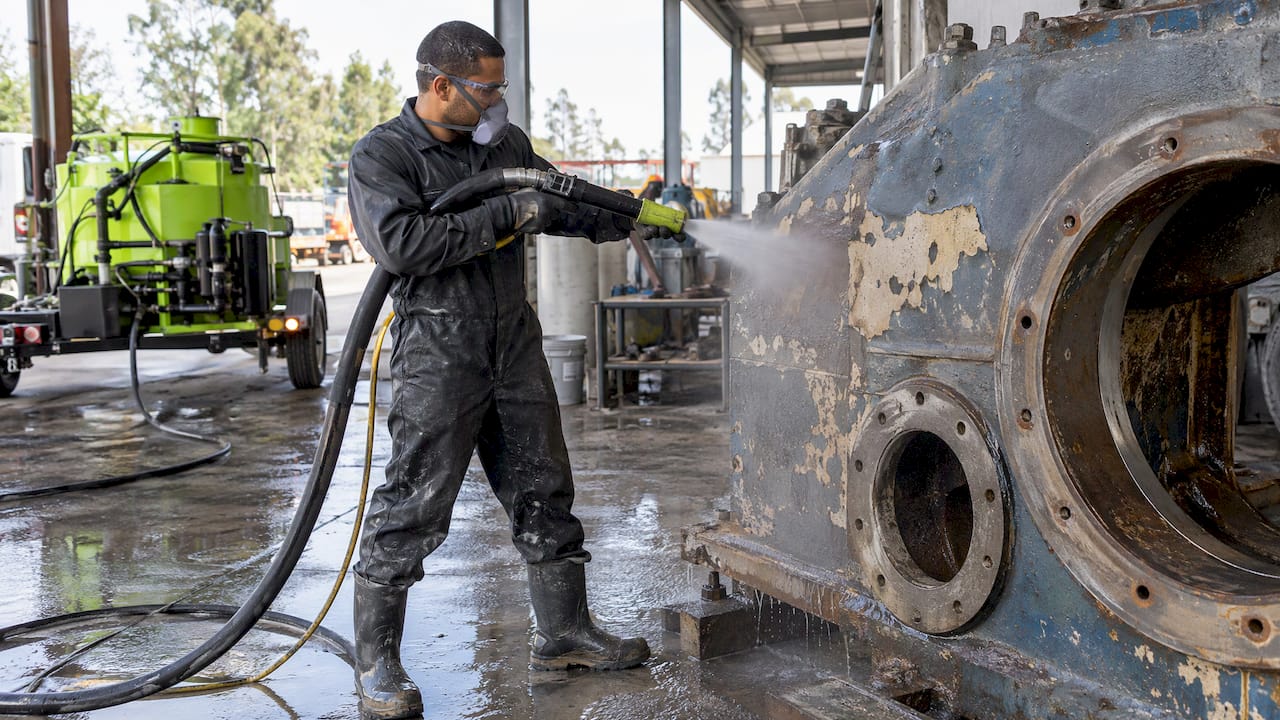
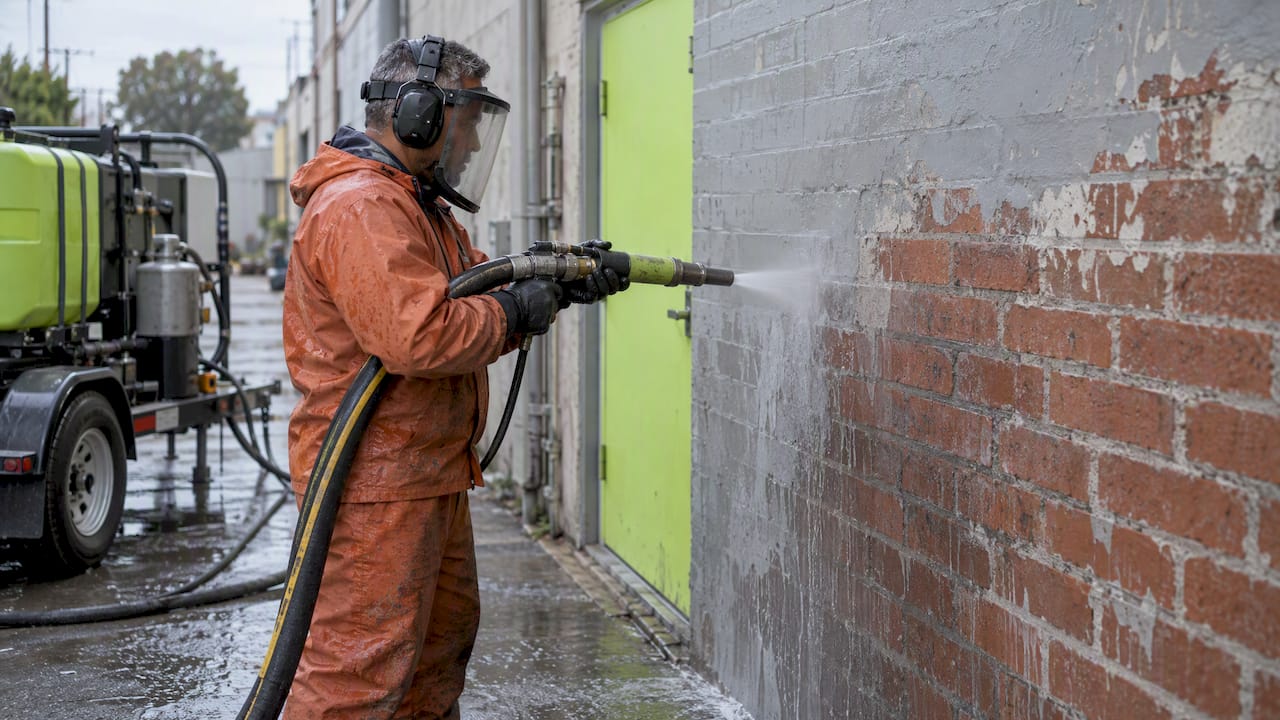
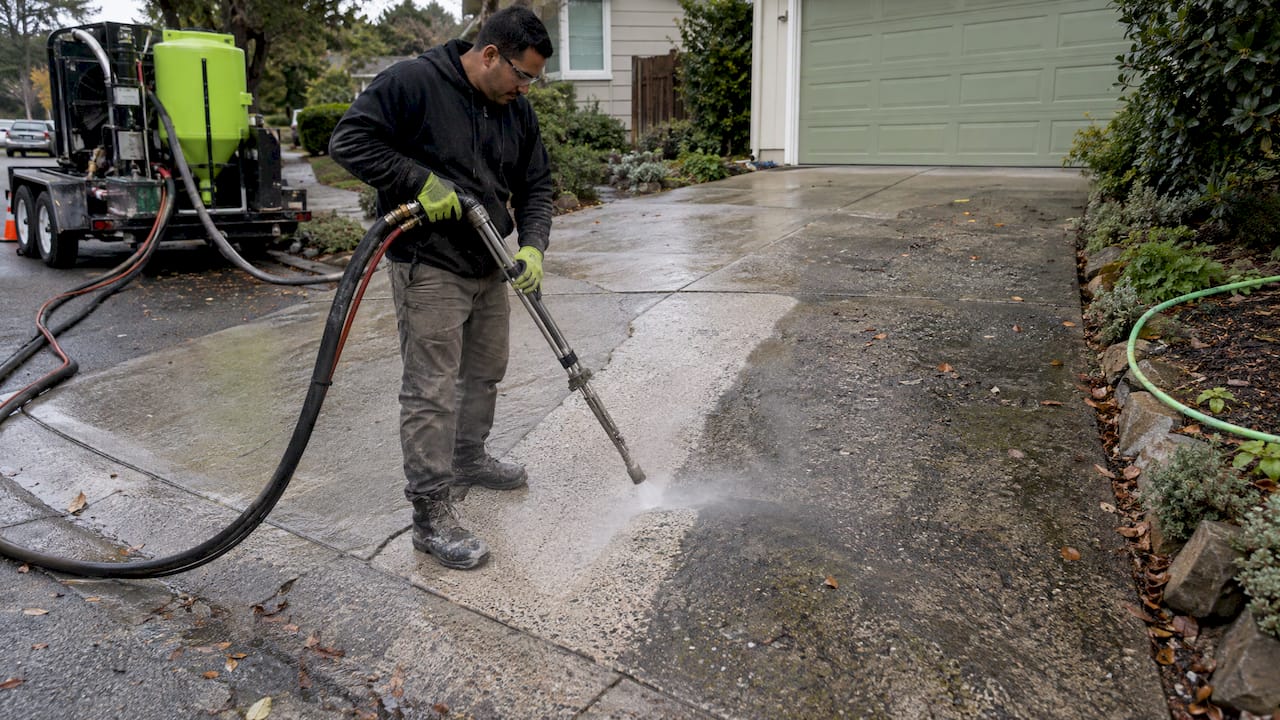
This is where we come in. Dustless blasting is wet abrasive blasting: media is carried in a water stream so the surface is stripped without the dust cloud of dry sandblasting. We produce up to 92% less dust than traditional dry sandblasting, which matters on a driveway next to neighbors, landscaping, parked cars and open windows. Our rigs are self-contained with their own air and power, so we need only parking and access to the surface.
If you want to compare methods, we wrote a separate guide on dustless blasting vs. sandblasting vs. pressure washing and what each removes.
Step 2: Profile the surface so repairs and finishes bond
Clean is not the same as ready. Smooth, sealed or glazed concrete resists bonding. Professionals talk about the surface profile: how rough the concrete is after prep.
Mechanical preparation is the standard way to get there. Grinding or shotblasting can remove contaminants and unsound concrete while roughening the surface so an overlay bonds. Acid etching and light washing are weaker substitutes, and they leave contaminants behind.
For driveways, we use two approaches depending on the condition of the slab:
- Dustless blasting for coatings, paint, stains, rust marks and light surface deterioration. It cleans and opens the surface in one pass.
- Concrete grinding when the slab needs flattening, when a thicker coating has to come off, or when you want a ground finish that is then sealed.
Our surface preparation service covers preparation to a coating spec, and we explain the profile concept in more depth in our guide to surface prep for coatings, including CSP profiles and why most failures are prep failures. That guide is written around epoxy floors, but the principle is the same outdoors.
Step 3: Repair cracks, spalls and low spots
Repairs come after cleaning, because you need to see the full extent of the damage. Blasting often reveals cracks and soft areas that grime was hiding.
The sizing rule is simple. Cracks or holes under 1/4 inch can be patched or filled. Larger cracks or holes, spalling, scaling or discoloration can be resurfaced, usually by a contractor.
In practice:
- Hairline and small cracks: fill with a flexible crack filler or sealant made for concrete.
- Spalled patches: remove loose and crumbling concrete down to sound material, then repair with a bonding patch or resurfacer.
- Active cracks: cracks that keep moving should be repaired properly, not just covered. Research on resurfacing durability lists repairing active cracks as part of making the result last.
- Low spots: level before finishing. Water that pools will find the weakest point of any coating.
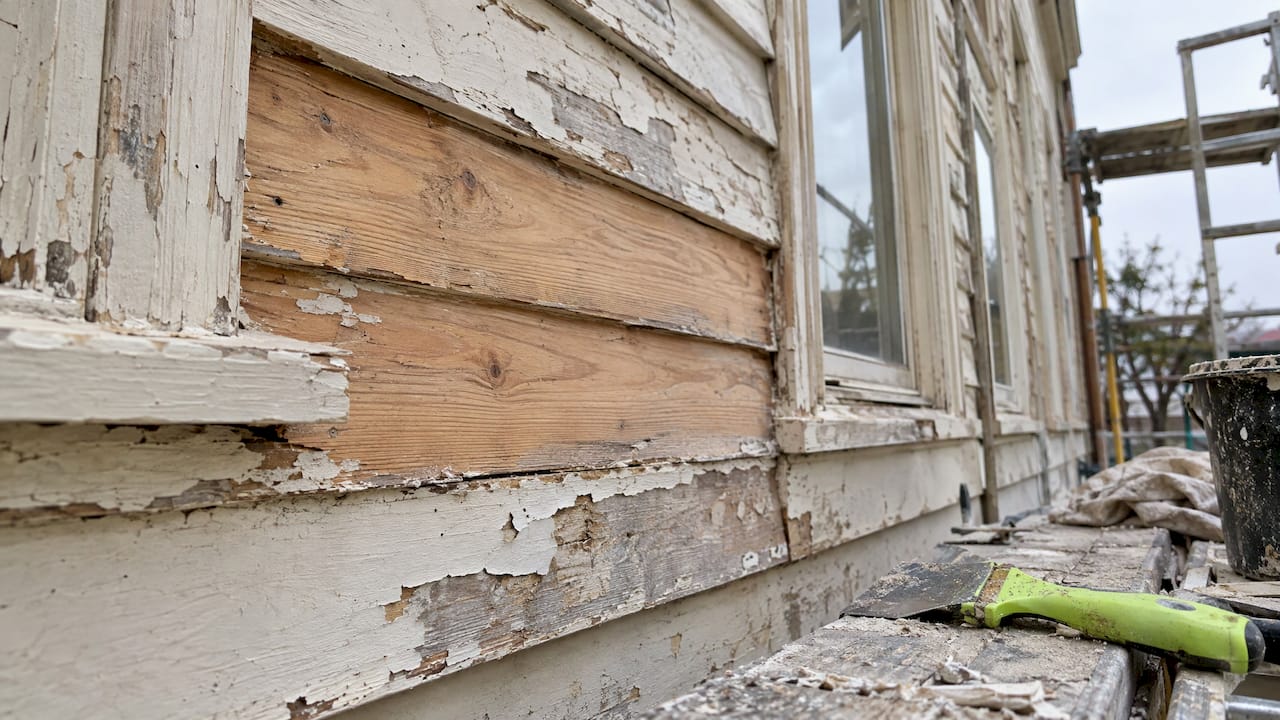
Wood, brick and metal edging along a driveway often need attention at the same visit. We also work on paint removal, rust removal and stripe and line removal, which helps when a driveway shares space with a parking area.
Step 4: Finish the surface
You have a few finishing paths, and the right one depends on how you want the driveway to look and perform.
| Finish | What it is | Good for |
|---|---|---|
| Cleaned and sealed | Blasted clean, then sealed | Slabs in decent shape that look tired or stained |
| Grind and seal | Ground flat, then sealed | Worn or uneven surfaces, a clean, uniform look |
| Resurfacing overlay | Thin cementitious layer broomed over the slab | Scaling, spalling, rough surface, color change |
| Replacement | Remove and pour new | Structural failure, heaving, soil problems |
If you go the overlay route, the application sequence is well documented. After cleaning and patching, dampen the concrete if needed, spread the resurfacer in sections and broom it for a slip-resistant finish. Overlay installers handle that stage, and our job is making sure the slab under it is correctly prepared.
For grind and seal, we handle the whole process ourselves. See our page on concrete grinding and grind-and-seal, and if you are weighing options for a garage or other interior slab as well, our comparison of polished concrete, grind and seal, and epoxy lays out the trade-offs.
Weather and curing
Timing matters for anything applied to a driveway. Manufacturer guidance says temperatures should stay above 50°F (10°C) for 8 hours after application and the surface should be protected from freezing for 24 hours. A general guide adds protection from rain for at least 6 hours, then 48 to 72 hours before vehicle traffic. It also says concrete can take up to 28 days to reach maximum strength, so be gentle with heavy loads, such as a delivery truck or a trailer, for the first few weeks.

Bay Area weather is mild, but the rainy season runs through the cooler months. Schedule resurfacing and sealing for a dry stretch and give your crew a weather window, not a fixed date.
What does concrete driveway restoration cost?
The honest range is wide, because “restoration” covers everything from a cleaning to a full overlay. Hiring a professional to resurface concrete can cost $3 to $10 per square foot or more, depending on decorative options and the surface preparation required.
Here are our published starting prices for the prep and finishing services that apply to driveways:
| Service | Price |
|---|---|
| Dustless blasting | From $3 per sq ft |
| Paint removal | From $3 per sq ft |
| Rust and metal blasting | From $3 per sq ft |
| Concrete grinding and grind and seal | From $2 per sq ft |
| Surface preparation | $2 to $3 per sq ft |
Other services, including concrete polishing, graffiti removal, line and stripe removal, wood restoration, masonry and brick cleaning and lead paint removal, are quoted per project. Final pricing depends on the site, so we give free estimates.
A worked example
Take a two-car driveway of 600 square feet. At the published starting rate for grind and seal, $2 per square foot, the starting point is $1,200. At $3 per square foot for blasting, it is $1,800. These are starting-rate illustrations, not quotes. Your number moves with the factors below.
What moves the price
- Condition and coating: multiple layers of paint or sealer take longer than bare concrete.
- Stains: deep oil or rust stains can need more passes.
- Repairs: crack filling, patching and leveling add labor and material.
- Access: parking for the rig, slope, tight gates and distance to work areas.
- Total area: larger jobs usually come out lower per square foot than small ones.
- Finish: a plain sealer is a different cost from a decorative or colored finish.
For more on how we price, see our guide to dustless blasting cost in the Bay Area.
How long does a restored driveway last?
Longer than most people expect, if the work is done properly. With a high-quality resurfacing product and professional installation, resurfaced concrete can last 8 to 15 years on average, and sometimes up to 25 years with consistent maintenance and favorable conditions. The same source notes that poor preparation or subpar materials may cause failure in 1 to 3 years, and says resurfacing can handle residential vehicle loads when the right polymer-modified materials are installed by people who understand surface profiling.
Five habits that extend the life of the work:
- Prepare mechanically, not just with a hose.
- Use quality materials designed for exterior, vehicle-loaded concrete.
- Repair active cracks before finishing.
- Seal the surface, and reseal on a schedule.
- Clean oil and fluid leaks soon, before they soak in.
Why we prepare driveways the way we do
We see the same pattern on driveway jobs. A homeowner or contractor picks a product, spends money on it, and the product peels in a year or two. The product is rarely the problem. The slab was not clean, the old coating was only partly removed, or the surface was too smooth to hold anything.
That is why we focus on the preparation stage. Wet abrasive blasting lets us strip paint, sealer, rust and stains from concrete without throwing a dust cloud over the property, with up to 92% less dust than traditional dry sandblasting. For slabs that need flattening or a ground finish, we grind and seal. Both methods open the surface so whatever goes on next has something to grip.
We also like to be practical about the quote. We publish starting prices, we give free estimates, and we explain what the number covers. Tell us what you know about the slab, its age, its coating history, where it holds water, and we will tell you what we would do to it.
USA
Restoring your driveway with us
If you want the surface prepared properly, we can come to you. Our self-contained rigs carry their own air and power, so we need only parking and access to the surface. We serve homeowners, contractors and property managers across San Francisco and the Bay Area, and we schedule quickly.
See our full list of blasting and concrete services, or get a free estimate for your driveway today.

We have local pages for San Francisco and the Peninsula as well. Start from our main site to reach us.
A simple plan for your driveway
- Assess: use the walk-around test, then get a site visit.
- Decide: restore if the slab is sound, replace if it is structurally failing.
- Prepare: blast or grind, so the surface is clean and profiled.
- Repair: fill small cracks, patch spalls, level low spots.
- Finish: seal, or apply an overlay or coating suited to a driveway.
- Protect: keep traffic off for the cure period and plan resealing.
Before you sign any quote, sanity-check it: does it say how the surface will be prepared, what method is used, and what finish goes on? A quote that skips preparation is missing the step that matters most.
For more guides, see our blog.
FAQ
Can you put new concrete on top of old concrete?
Yes, in the form of a resurfacing layer, if the old slab is sound. It is not suitable over heaving concrete, severe cracks or freeze-thaw damage, and it will not fix soil problems underneath. The old surface also has to be cleaned and profiled so the new layer bonds.
How much does it cost to resurface a concrete driveway?
Professional resurfacing is commonly quoted at $3 to $10 per square foot or more, depending on decorative options and the prep required. Our prep and finishing services start at $2 to $3 per square foot, depending on the service. We give free estimates.
When should a cracked driveway be replaced instead of restored?
Replace it when the damage is structural: heaving, sinking, wide cracks with height differences, or movement caused by the soil. Cracks narrower than 1/4 inch can be filled, and surface problems like scaling and spalling can be resurfaced.
How long before I can drive on a resurfaced driveway?
General guidance is 48 to 72 hours before vehicle traffic, with temperatures above 50°F for the first 8 hours and protection from rain and frost. Full strength can take up to 28 days, so avoid very heavy loads early on. Follow the product instructions for your material.
Do you need to seal a restored concrete driveway?
Sealing is recommended as part of keeping a restored driveway durable, and resealing as needed extends its life. Ask what sealer suits your finish, and let repairs cure before applying it.
Sources
- Concrete Driveway Repair and Renovation Options, Concrete Network
- Old Concrete? What Every Homeowner Should Know, Concrete Network
- Resurfacing Concrete 101: How to, Options & Pro Tips, Concrete Network
- Does Concrete Resurfacing Last? How Many Years to Expect, Concrete Network
- How To Resurface Concrete, This Old House
- Resurfacing Concrete, Quikrete
Recommended
- Polished Concrete vs. Grind & Seal vs. Epoxy: Choosing a Floor for Bay Area Garages, Warehouses and Retail
- Concrete Polishing San Francisco & Bay Area | Polished Concrete Floors
- Concrete Grinding & Grind-and-Seal | From $2/sq ft | SF Bay Area
- Dustless Blasting vs. Sandblasting vs. Pressure Washing: Which Removes What