How to Restore a Concrete Patio: Steps, Costs, Options
A concrete patio is restored in four moves: judge whether the slab is sound, strip everything that is on it, repair the damage, then finish the surface with a resurfacer or a sealer. Most failures happen in the second move. New material only bonds to concrete that is clean, open and rough enough to grip, and that is the part we do for Bay Area patios with mobile dustless blasting and concrete grinding, starting at $3 and $2 per square foot.
Below is the full routine, what each step takes, where it goes wrong, and what the options cost.
TL;DR
- Restoration only works on a structurally sound slab. Resurfacing cannot correct major cracks or sinking, so assess first.
- Surface prep decides the result: remove paint, sealer, grease and algae, then roughen smooth concrete to a CSP 4 to 6 profile.
- Resurfacer goes on 1/8 to 1/4 inch thick, in small batches, in mild weather, and needs 24 to 48 hours of moist curing.
- Where the slab is basically sound but stained, worn or coated, grinding and sealing can restore it without an overlay. We price grinding from $2 per square foot.
- Our estimates are free, and we quote per square foot or per project.
Table of Contents
- Step 1: Assess the slab before you spend anything
- Step 2: Choose a restoration route
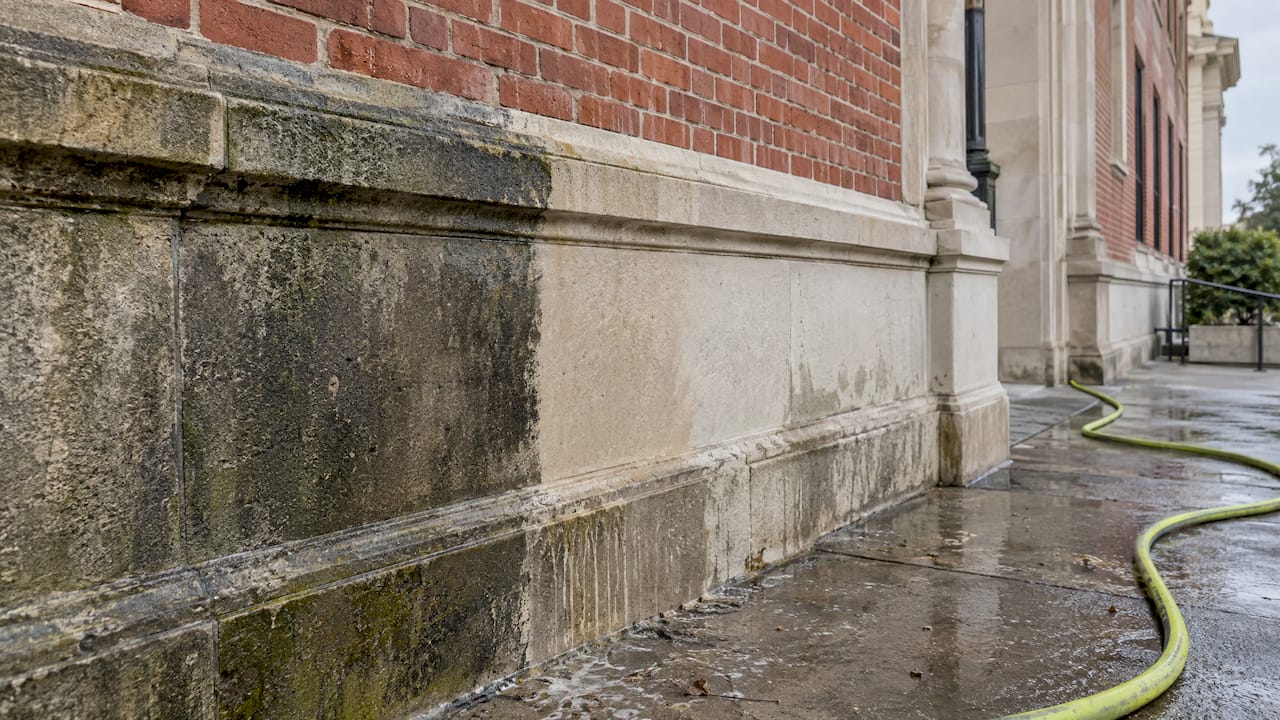
- Step 3: Clean the concrete, then strip what is on it
- Step 4: Repair cracks, pits and spalled areas
- Step 5: Apply the resurfacer
- Step 6: Cure and protect the result
- What restoring a concrete patio costs
- Promo: have the prep done in one visit
- Perspective: why prep is the whole job
- FAQ
- Sources
Step 1: Assess the slab before you spend anything
Walk the patio and sort the problems into two piles: surface problems and structural problems.
Surface problems are the ones restoration fixes: fading, oil and rust stains, algae, peeling paint or old sealer, light scaling, pitting, and shallow hairline cracks. Structural problems are different. A professional inspection standard from InterNACHI says to determine whether concrete problems have stabilized or are likely to continue, and to tell shallow shrinkage cracks apart from cracks caused by ongoing soil movement.
Use these rules of thumb while you walk the slab:
- Hairline cracks that do not offset: surface repair is usually enough.
- Cracks where one side sits higher than the other: the base is moving. A resurfacer will not hold it.
- Sections that slope toward the house or hold water: drainage is the real problem, and a new surface will not fix it.
- Crumbling, flaking top layer (spalling): repairable if the concrete underneath is hard and solid.
- Sinking or rocking slabs: this is a leveling or replacement question, not a restoration one.
The resurfacer manufacturer QUIKRETE adds a warning worth knowing: old cracks may reappear because of movement in the base concrete. Expect hairline cracks to telegraph through if the slab keeps moving, and decide up front whether you can live with that.
If you are not sure which pile your patio belongs in, a site visit is the fastest answer. We offer free estimates and quick site visits around San Francisco and the Bay Area.
Step 2: Choose a restoration route
There are three realistic routes for a patio. The right one depends on what the surface looks like now and what you want it to look like.
| Route | Best for | What it involves |
|---|---|---|
| Clean and strip, then seal | Sound concrete that is stained, coated or dull | Remove coatings and contaminants, then seal |
| Grind and seal | Worn, uneven, stained or previously coated slabs | Mechanical grinding to a uniform surface, then a sealer |
| Resurfacer or overlay | Rough, pitted or scaled concrete you want to look new | Prep, patch, then a thin cementitious layer |
The first two routes keep your existing concrete and refine it. The third adds a new wearing layer on top. All three start with the same prep, which is why prep is where the budget should go first.
Our concrete grinding and grind-and-seal service covers the grind route. For a comparison of how grinding, polishing and coating differ on a floor, our guide to polished concrete vs. grind and seal vs. epoxy lays it out, and the same logic carries over to patios.
Step 3: Clean the concrete, then strip what is on it
This is the step most patio projects underdo.
Clean first
Resurfacer and sealer manufacturers agree on this. The TCC Materials data sheet says to remove dirt, dust, grease, paint, algae, mildew and other contaminants, using a cleaner or degreaser followed by thorough rinsing, and says a 2,500 to 3,500 psi washer may be used. QUIKRETE’s guide calls for pre-washing oil and grease and then pressure-washing thoroughly at 3,500 psi.
Where it goes wrong: oil that has soaked into the pores. Surface washing leaves it behind, and it later shows up as a bond failure or a dark ghost through the new finish. Our guide to removing concrete stains by stain type covers oil, rust, and other marks.

Strip old paint and sealer
Painted or sealed patios need the coating off, not covered. There are two broad ways to do it.
Chemical stripping. A typical product data sheet, the Techniseal ECO-STRIPPER sheet, says to test a small area first, apply only to a dry surface, allow 8 to 24 hours of dwell, sweep up the dried residue, pressure-rinse at 2,000 to 2,500 psi and repeat if necessary. That is a multi-day process with residue to collect, and layered or old paint often needs more than one pass.
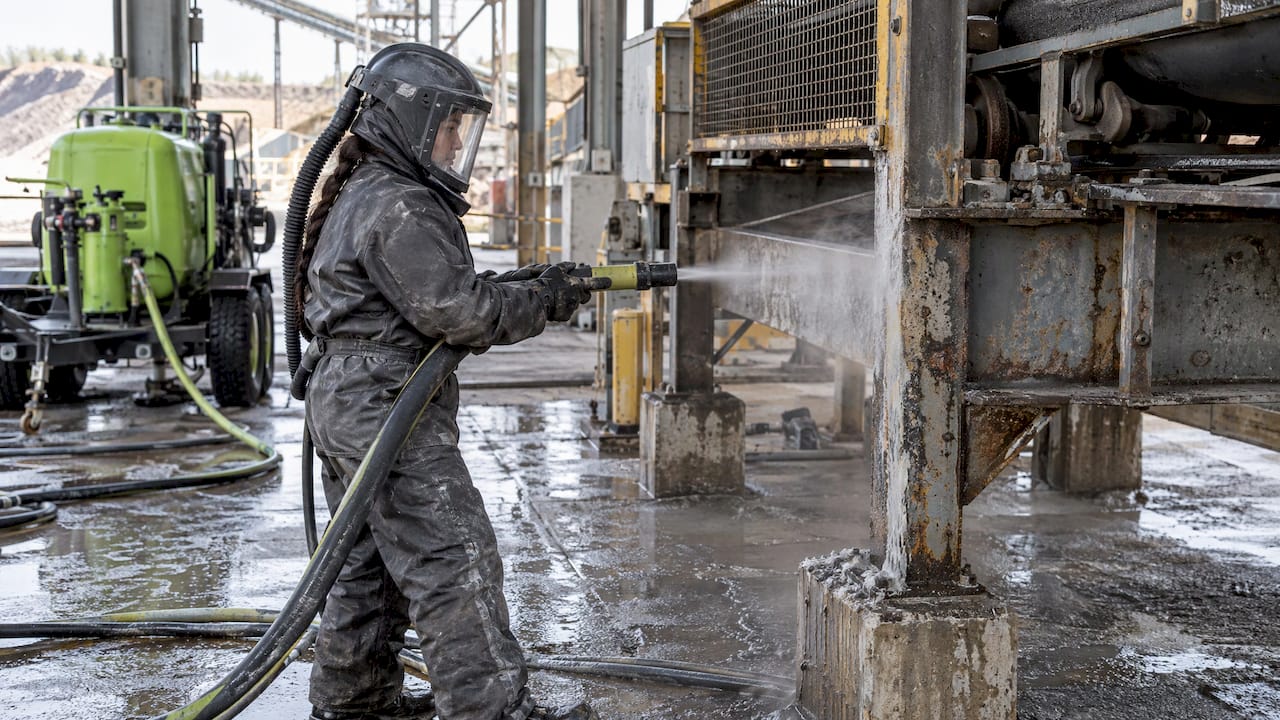
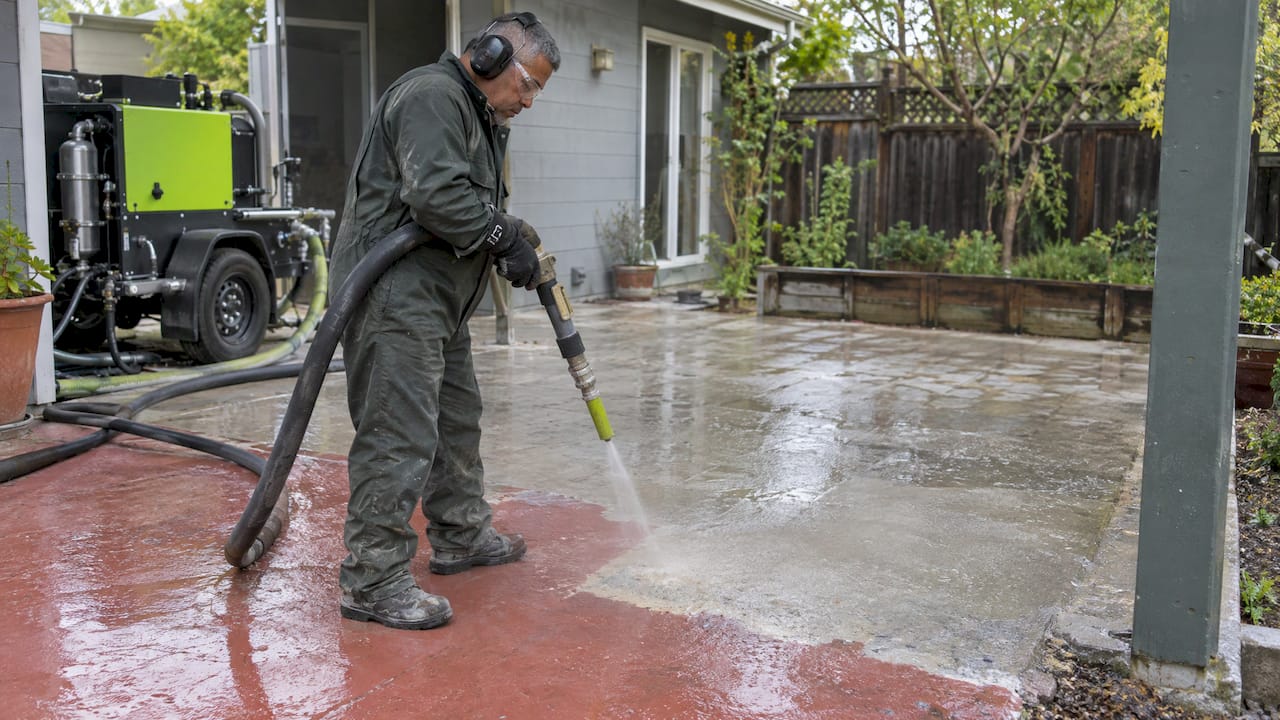
Dustless blasting. Our wet abrasive method removes paint, rust and coatings from concrete in one pass of the rig, with up to 92% less dust than traditional dry sandblasting. Our rigs carry their own air and power, so all we need is parking and access to the patio. Dustless blasting starts at $3 per square foot, and paint removal starts at the same $3. See how it compares in our guide to dustless blasting vs. sandblasting vs. pressure washing.

A word on older homes: paint applied before 1978 can contain lead. If your patio or the walls and railings around it carry old paint, lead paint is handled differently from ordinary paint, and we have a dedicated lead paint removal and containment service.
Open up the surface
Smooth, dense or troweled concrete does not give new material anything to grip. TCC Materials says such concrete must be mechanically roughened, with best results at a Concrete Surface Profile of CSP 4 to 6 using grinding, shotblasting, scarifying or sanding.
CSP is a standard scale from 1 (nearly smooth) to 10 (very rough). Reading a number off a chart is easy; hitting it evenly across a patio is not. Uneven profile means some areas bond and others peel. We handle surface preparation to coating specification, quoted at $2 to $3 per square foot, and explain profiles in detail in our guide to CSP profiles and why most failures are prep failures.
Step 4: Repair cracks, pits and spalled areas
Once the surface is clean and open, repair the damage. Do not skip this to save a day: a thin resurfacer follows the shape of whatever is under it.
QUIKRETE says to level spalled areas, pits or cracks with resurfacer mixed to a trowelable consistency, about one part water to seven parts resurfacer by volume, and let the repairs harden before resurfacing the whole area.
Depth changes the product. TCC Materials says depressions deeper than 1/4 inch should be repaired with a concrete repair product at least three days before resurfacing, while minor blemishes may be filled with trowelable resurfacer two to four hours before the overlay.
For larger repairs, the shape of the cavity matters. The ACI/ICRI Field Guide to Concrete Repair Application Procedures says cavities should generally be square or rectangular without reentrant corners, and that final cleaning should remove dust, debris, fractured concrete and contaminants that inhibit bonding. The guide treats cavity shape, final cleaning and curing as performance requirements, since stress concentrations, leftover dust and fast moisture loss can all cause a repair to fail.
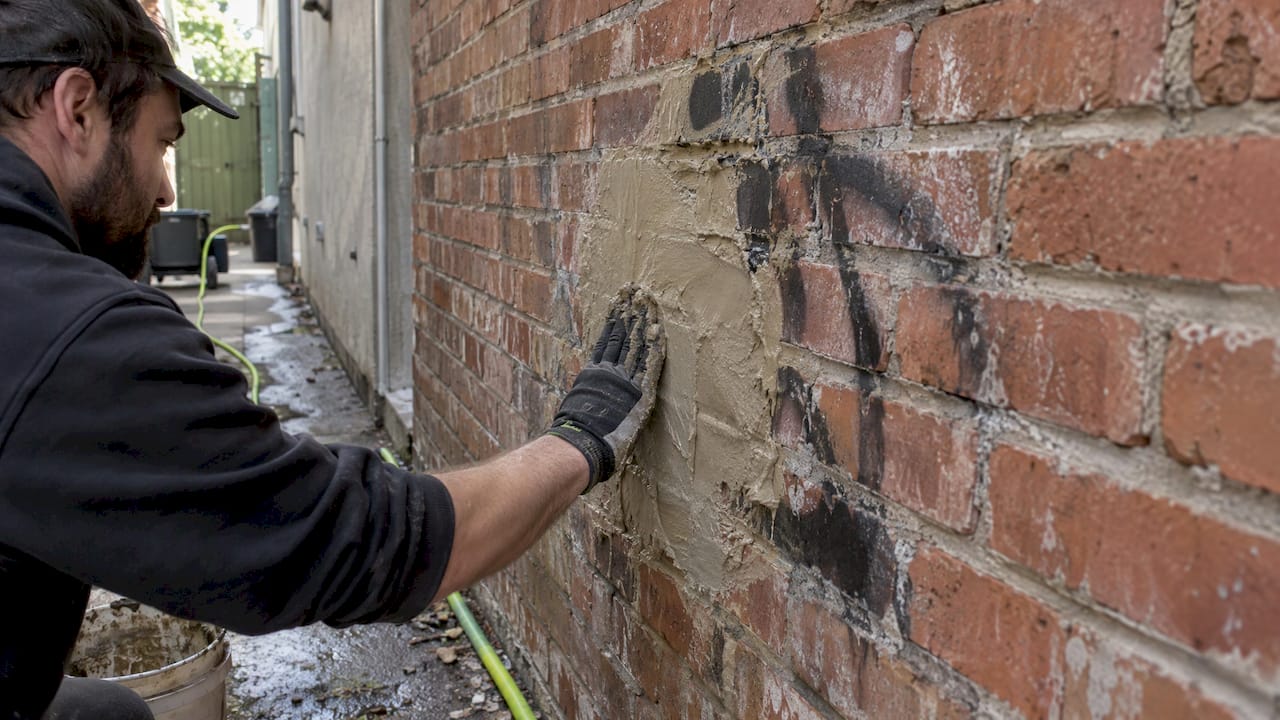
The principle of cutting out loose material, cleaning, patching and only then finishing applies to all masonry. A guide to repairing cracked masonry on chimneys walks through the same causes-first thinking.
Step 5: Apply the resurfacer
If you chose the overlay route, this is the fast, unforgiving part.
- Check the weather. TCC Materials says not to apply in direct sunlight or on hot, windy days, or when temperatures will drop below 50°F within 48 hours. QUIKRETE says temperatures should stay above 50°F for eight hours.
- Section the work. QUIKRETE says to divide the patio into areas no larger than 144 square feet and to preserve control and expansion joints. Do not cover joints; they are there so the slab can move.
- Dampen, but do not flood. The substrate should be saturated-surface-dry with no pooling water.
- Mix small batches. This Old House notes the material is workable for about 20 minutes and recommends mixing half a bag at a time.
- Spread evenly. Aim for 1/8 to 1/4 inch thick, using a flat trowel or a long-handled squeegee while pressing for bond.
- Broom for traction. A nylon-bristle broom finish gives a slip-resistant surface, which matters on a patio that gets wet.
Where it goes wrong: mixing too much at once, working in direct sun, and leaving puddles under the material. QUIKRETE also notes that color and finished depth are affected by temperature, wind, sun or shade, and substrate dampness, so a patio that is half shaded can come out in two tones if you are not careful.
Step 6: Cure and protect the result
The cure is where good patios are won or lost. QUIKRETE says to protect the surface from freezing for 24 hours and from rain for at least six hours, and above 90°F to moist-cure with fog spray for 24 to 48 hours. TCC Materials gives four hours of rain protection and moist curing for 24 to 48 hours after final set.
Traffic timing depends on the product. Sakrete’s guide says its Flo-Coat may open to foot traffic in four hours but longer curing improves durability; without its Cure 'N Seal, keep the material continuously moist for three days and wait seven days before vehicle traffic. Follow the data sheet of whatever you use. ACI/ICRI guidance explains why: proper curing limits rapid early moisture loss.
After curing, seal it. A 2022 exterior-concrete maintenance guide from Cemstone says sealing helps protect concrete from moisture and deicing chemicals, that drainage should keep water and deicer from standing, and that stains should be removed promptly. In the Bay Area, where deicers are rarely the issue, the same advice means keeping planters, grills and irrigation runoff from leaving permanent marks.
What restoring a concrete patio costs
Costs vary with size, condition and finish. For a national reference, HomeAdvisor’s 2026 figures put concrete resurfacing for a driveway or patio at $1,000 to $5,000, with an average around $2,000, priced mostly per square foot, at an average of $3 to $5. Decorative overlays run higher, and the same source says to budget for crack repair and old-surface removal.
That last point is the one that moves a quote. Prep is a separate line from the overlay material, and our published rates cover it:
| Service | Our price (one-off) |
|---|---|
| Dustless blasting | From $3 per sq ft |
| Paint removal | From $3 per sq ft |
| Concrete grinding and grind-and-seal | From $2 per sq ft |
| Surface preparation | $2 to $3 per sq ft |
For example, on a 300-square-foot patio, grinding from $2 per square foot works out to a starting point of $600, and dustless blasting from $3 per square foot to $900. Final pricing depends on the condition of the slab, access and what is on it, which is why we look at each job before quoting. Our dustless blasting cost guide explains what moves the number.
Factors that change the quote:
- Number of paint or sealer layers
- Oil, rust or other deep staining
- Spalling and crack count
- Access: stairs, gates, tight side yards
- Whether the surface is being sealed afterward
Promo: have the prep done in one visit
Prep is the part of patio restoration that takes the most equipment and creates the most mess. Our mobile rigs carry their own air and power, so we need only parking and access to the patio, and the wet method keeps dust down by up to 92% compared with traditional dry sandblasting. We serve homeowners, property managers and contractors across San Francisco and the Bay Area, and estimates are free.

Tell us the size of the patio, what is on it now and what finish you want, and we will give you a per-square-foot or per-project quote. Start on our services page, or see our dustless blasting service for rates and details.
Perspective: why prep is the whole job
Most patio restorations we look at do not fail because someone chose the wrong overlay. They fail because the concrete under it was never really ready: a film of old sealer, oil in the pores, a surface too smooth to grip.
That is why we built our work around preparation. Wet abrasive blasting takes paint, rust and coatings off concrete, wood, brick and metal without the dust cloud of dry sandblasting, and grinding gives the slab a uniform profile for whatever goes on next. Because the rigs are self-contained, a tight Bay Area lot is not a problem.
Our advice is simple. Get the slab judged honestly, get it truly clean and profiled, and decide on the finish after that. Often grinding and sealing alone gives a patio a new look, with no overlay layer to wear through.
USA
FAQ
Can any concrete patio be restored?
Most can, if the slab is structurally sound. Surface wear, stains, old paint and shallow cracks are restorable. Major cracks, sinking or a base that keeps moving need to be addressed first, because resurfacing cannot correct them. A site visit settles which case you have.
How thick is a concrete resurfacer layer?
Typically 1/8 to 1/4 inch, per both the TCC Materials data sheet and This Old House guidance. Deeper depressions, over 1/4 inch, need a repair product first. Thin layers are one reason surface preparation matters so much: there is little thickness to hide flaws.
How long before I can use a restored patio?
It depends on the product. Foot traffic can be allowed in as little as four hours for some resurfacers, while vehicle traffic may take seven days, and moist curing runs 24 to 48 hours or longer. Always follow the data sheet for the specific product used.
Do I have to resurface, or can I just clean and seal?
If the concrete is sound and the problem is stains, algae or a worn coating, stripping, cleaning and sealing, or grinding and sealing, can restore the look without an overlay. Resurfacing suits rough, pitted or scaled slabs. We can look at yours and quote the route that fits.
Sources
- Visual Inspection of Concrete, InterNACHI
- How To Resurface Concrete, This Old House
- Resurfacing Concrete, QUIKRETE
- Concrete Resurfacer data sheet, TCC Materials
- ECO-STRIPPER data sheet, Techniseal
- Field Guide to Concrete Repair Application Procedures, ACI/ICRI
- How to Resurface Damaged Concrete Slabs, Sakrete
- Exterior Concrete Maintenance Guide, Cemstone
- Concrete Resurfacing Cost, HomeAdvisor
- Cracked Chimney Repair: Causes, Costs and Next Steps